Dry Stacked Block Construction Wall Opening
Window wall opening rebar details
A window and door wall opening requires specific code details. Here you see how to reinforce the window openings in a dry stacked concrete block wall. You will probably use different types of rebar for different parts of the window. Here is a drawing that shows the rebar plan.
- Part A is the bond-beam rebar. It goes along the top of the wall.
- Part B is the window header bottom rebar. It goes along the bottom of the window opening.
- Part C is the window wall cell rebar. It is shaped like an upside down L and goes on each side of the window opening. It must overlap part A by at least 24 inches.
- Part D is the slab cell rebar. It is shaped like a normal L and goes on top of part C. It must overlap part C by at least 24 inches. It must also go into the foundation concrete by at least 6 inches.
Check your local building code for how many rebar you need in each location. You will also follow the code for the size and height of the window header. The lower rebar should be 2-1/2 inches above the bottom of the header pour, according to the code. The extra concrete below the lower rebar does not affect the strength of the header. he book explains in detail.
And finally, this entire wall is covered inside and out with SBC.
Door wall openings
The door openings in a dry stacked concrete block wall opening are similar to the window openings. You will pour a bond-beam/header to make the door height, and use a wood framing jig as described below. You also need a door threshold.

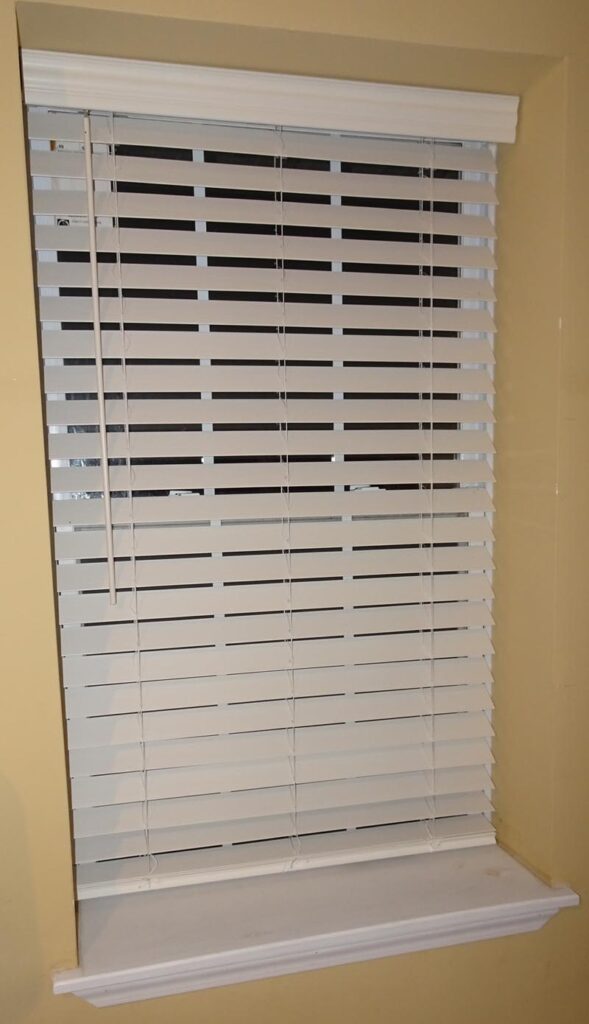
Window wall opening framing
The picture below shows the inside of a garage window. For a house, you would need to allow for insulation and wallboard installation before installing the window inside trim. In this picture you can see the 2x6s which frame the top and sides of the window. These pressure treated 2x6s are concrete screwed and caulked to the block window opening.
For a home, use treated wood that does not cause any health concerns, or place plastic between untreated wood and the wall opening. Check with your local building code for details. Then the window is fastened to these 2x6s. The inside surface bonding cement (SBC) wraps down over the top 2×6 in this picture. This is a result of my mistakes in the building sequence for the garage.
At any rate, I installed 7 windows in this garage, and only had to plane one side 2×6 to get precise window installed fit for all seven windows. I made a wooden jig which was placed upright on the wall and braced at the top for each window opening. The dry-stacked blocks were butted against this jig for perfectly square window openings. This jig certainly made all my window openings the same as well as square, since the jig was built very square.
In this same picture, you can see that the bottom window sill is also concrete. I used precast window sills in the garage because I just didn’t know any better at the time. For the house, I used poured in place window sills for a couple of reasons. In the house construction, the poured in place window sill can be height adjusted to exactly match the required window vertical wall opening.
Once the wall is SBC’d, then the final window opening will look very professional and will accept the window rough framing quite easily. SBC doesn’t stick to precast concrete without a special additive. By pouring concrete window sills, they can be SBC’s right into the wall without resorting to a special SBC mix. You could also use narrower window framing boards like I did in the garage, if you want the window recessed into the wall. I used 2x6s in my garage to have outside recessed widows that are flush on the inside.
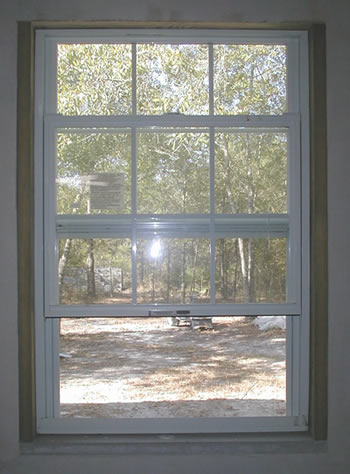
When I built my house I used outside flanged windows mounted to the framing boards and sealed to the outside wall SBC. Here is a picture of one of the finished house windows.
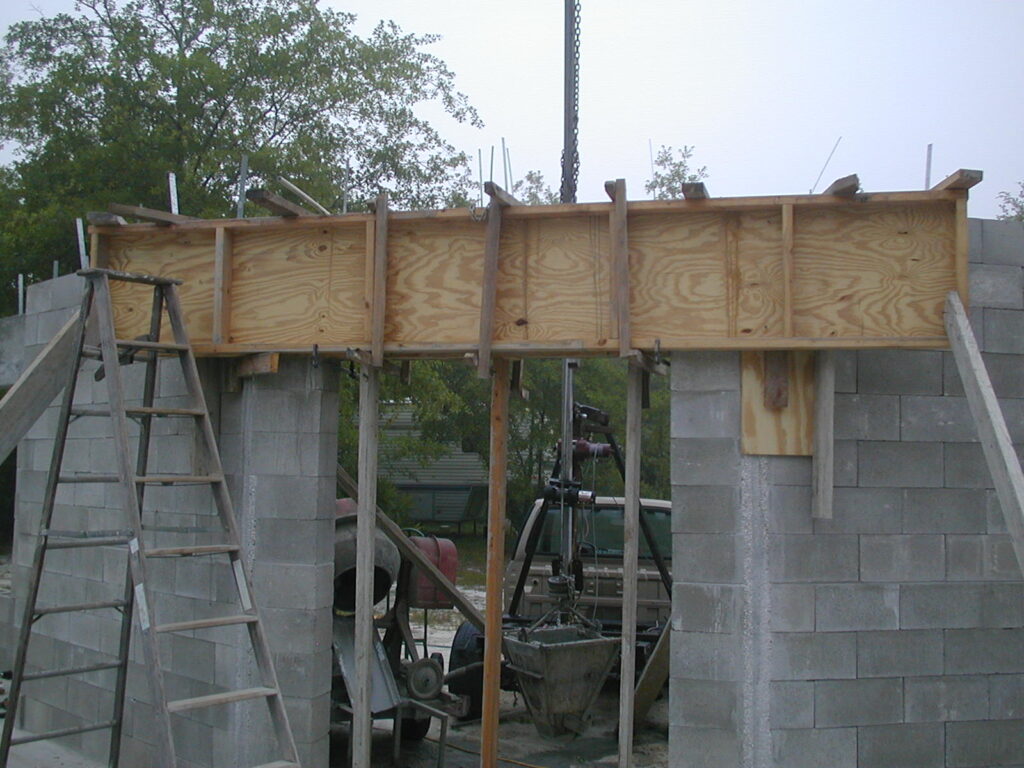
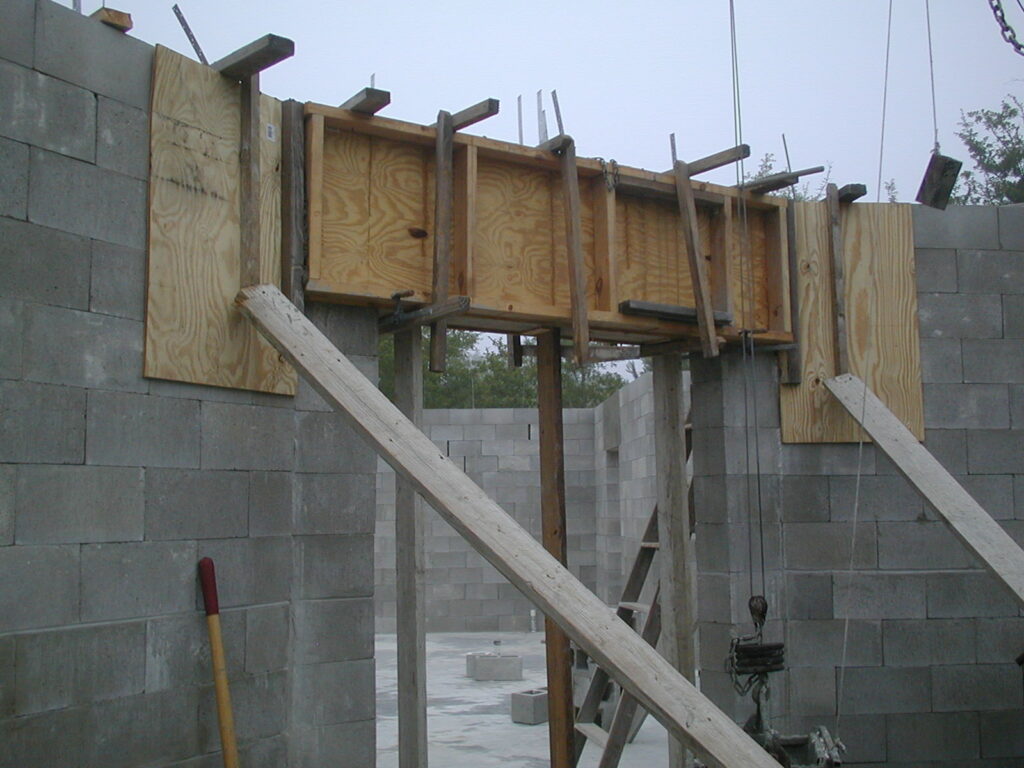
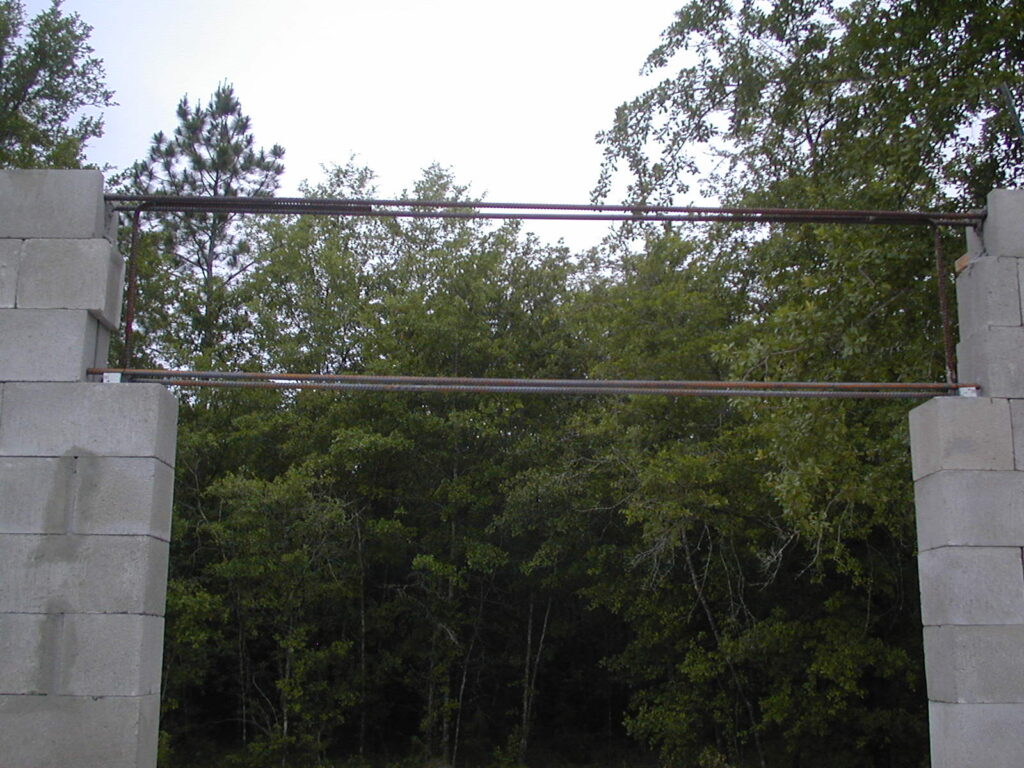
Rebar stands and forms
In the picture shown below, notice how the bottom doorway header rebars are perched upon metal stands. The camera angle and lens distorts the wall sides which are plumb. These stands ensure that concrete can fully envelope the rebar for good strength. I made these stands by bending some truss tie-down straps. These stands are then wire-tied to the rebar so they can’t move during the pour. In the picture the dry stacked block door header bottom board is not yet installed.This stand is also wire-tied to the vertical cell rebar so that the header bottom rebars remain centered within the doorway header. This was done for all door and window headers.
Once again, I used a cut in half full block in this picture because I ran out of half blocks. The cut in half block sticks out on the left side of the door header opening in this picture because it was cut after the center web, which makes it about an inch to long. The poured header concrete will butt up against this and fill in the differences. After SBC, you will no longer be able to see this staggered block joint in your home construction project.
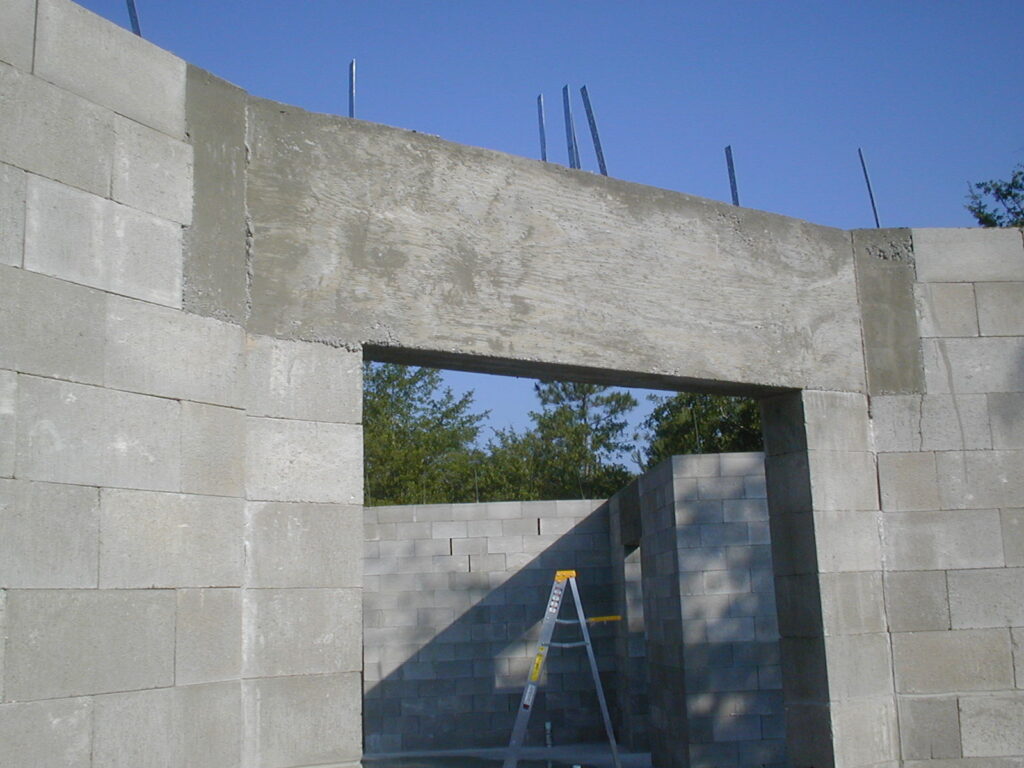
Below are the formed and after poured pictures of the house front door header opening. Notice the complex pour of this header which has a wall angle on each side of the door opening.