Build Your Own Home, Electrical Considerations
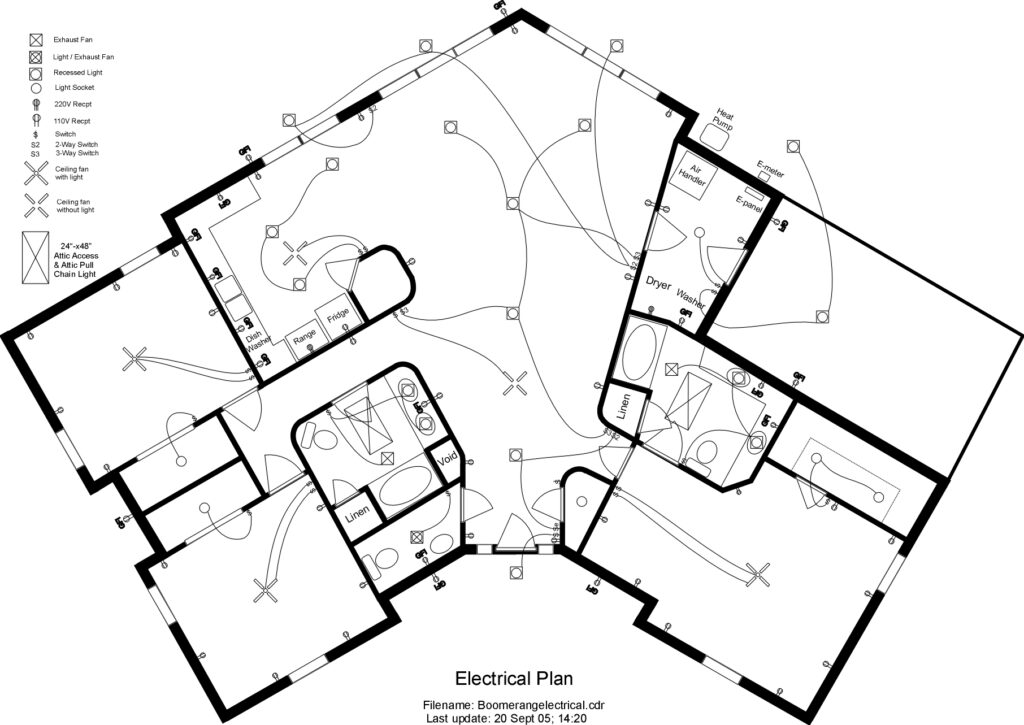
Main power distribution
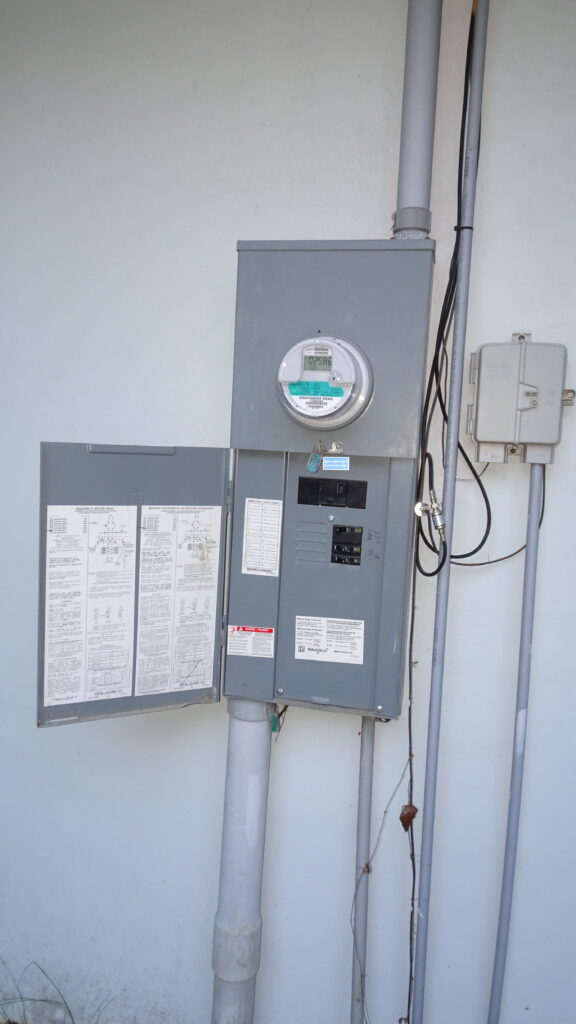
Building your own home includes electrical supply. I have an outside electrical meter and main power disconnect switch in a single enclosure as shown below. Electrical 200A service comes in from an underground power cable to the bottom of this enclosure. This enclosure carries power from the disconnect switch over to the inside house circuit breaker panel. As seen in the left picture, my electric supply via underground cable enters the bottom of the main disconnect switch panel. The switched power leaves the top of the switch panel and passes through PVC conduit in the attic to the indoor circuit breaker panel pictured on the right. I also have a breaker in the outside enclosure which feeds 60A power to my unattached work garage.
My TV antenna cables and telephone cables are also located next to this outside disconnect switch panel for easy connection to the required earth ground stake near the disconnect switch panel. This link describes common electrical code failures.
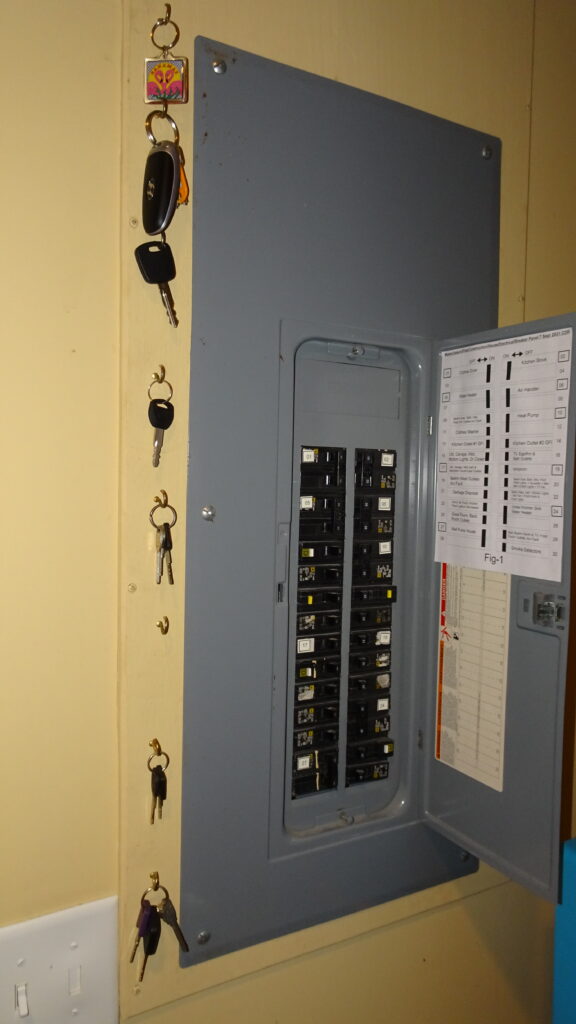
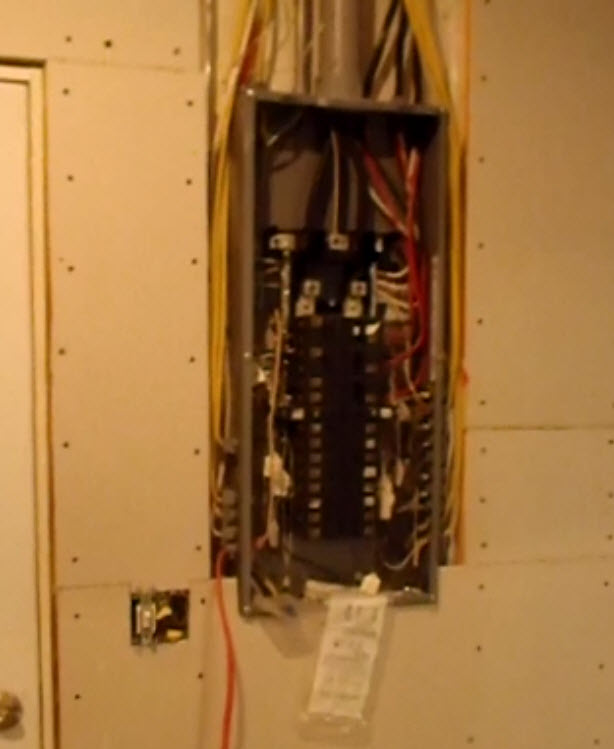
The circuit breaker panel is recessed into the 2-inch wall insulation foam, the 1×4 mounting boards (actually 3/4-inch thick) and the 1/2-inch sheet rock. This adds up to a 3-1/4-inch box recess. I then added a 1/2-inch plywood sheet between the sheet rock and the recessed circuit breaker panel. This results in 3-3/4-inch breaker box recess which allows the breaker box cover to remain flush with the surface of the plywood as seen in the picture. This plywood panel also allows access to the cables into and out of the circuit breaker panel top as shown in the picture below.
Build your own home, power distribution
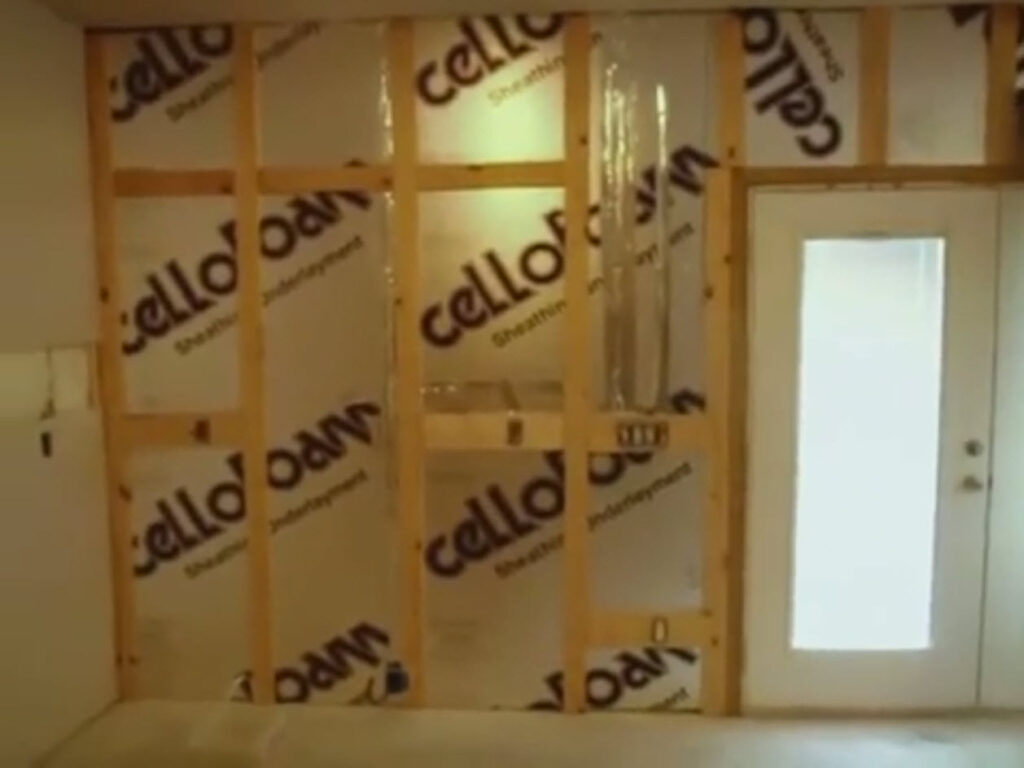
All house power cabling exits the breaker panel vertically up into the attic. Each cable drops down from the attic to the switch or outlet box. The cable is buried in the wall insulation foam and exits the foam at the desired location. This location will have a 1×6-inch board screwed to the wall and the box is installed in that board. Box mounting brackets extend the box face 1/2-inch beyond the 1×6 board so the box is flush with the sheet rock. These minor details will make building your own home results look very professional.
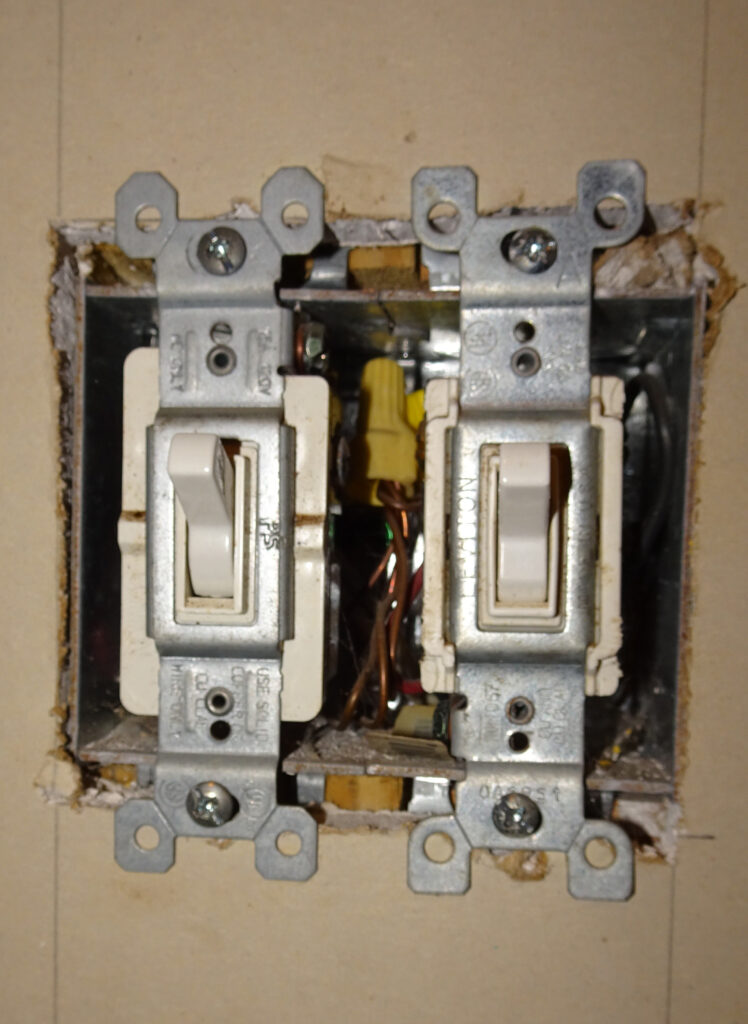
As shown in the picture below, with multiple ganged switches you have to use a horizontal 1×6-inch board. I also place the kitchen counter top electrical outlet boxes in horizontal 1×6-inch boards because the outlet location didn’t line up with the vertical boards holding the foam in place. Here you can also see where I mounted the vertical wires going into the attic within the rigid foam and place foil tape to keep them in there.
Wiring common electrical precautions
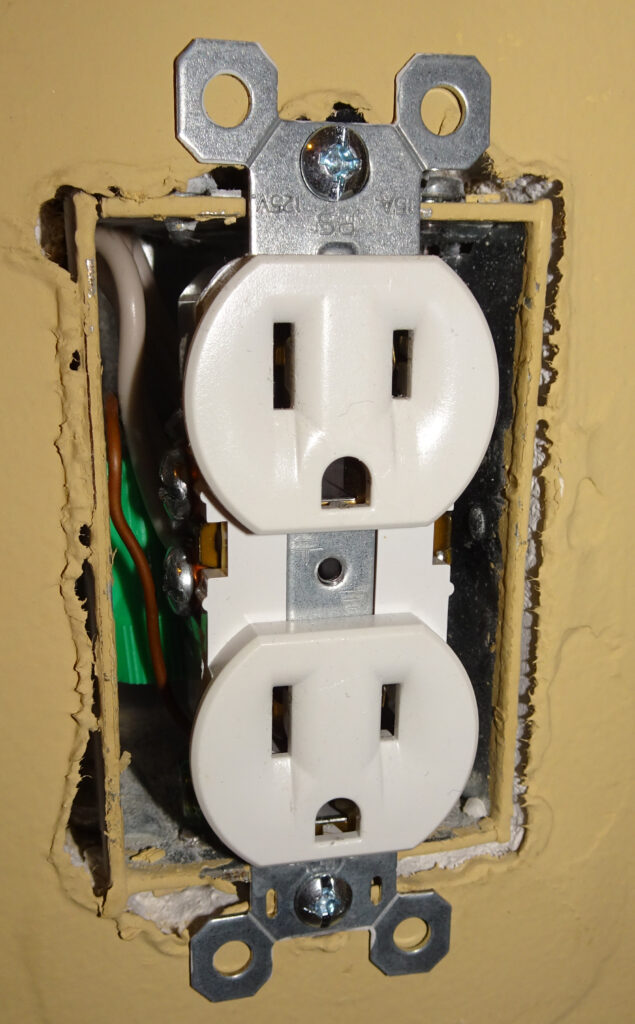
I have found through bad experience a problem the electrical code does not address. It has to due with wire dressing inside the electrical box. Codes require about 6-inches of wire excess within each box. Code also requires a loop of wire outside the box. Check with you inspector on these two issues so you meet code when finished.
The excess wire inside the box must be dressed properly. Prevent the black wire from pressing against the ground wire and/or the white wire which may also be common. When the black wire is pressed against the ground wire or white wire, it will become a short over time. The black wire insulation is pliable and the conductor will penetrate the insulation and cause a short circuit when constant pressure is applied. Ensure the black wire is never pressing tightly against any other wires inside the box, nor pressing against the sides of a metal electrical box.
Another possible electrical short
Another problem I ran into was a short inside the actual wire as it came off the 500-foot spool. After the sheet rock was installed and power applied, one circuit had a problem. It kept tripping the circuit breaker. After checking with a milli-ohm meter I determined that the short was near the associated light switch. I had to cut open the sheet rock to find the short within the new wire cable about 3-feet above the light switch.
I installed a junction box to remove that section of wire that was shorted. Because of this I now recommend that you check for wire shorts and opens before installing the sheet rock!
So this concludes our electrical tips and tricks for building your own home.
For more info on residential electrical code, start here.