Dry Stacked Block Wall Plumbing
Plumbing cold water distribution concerns
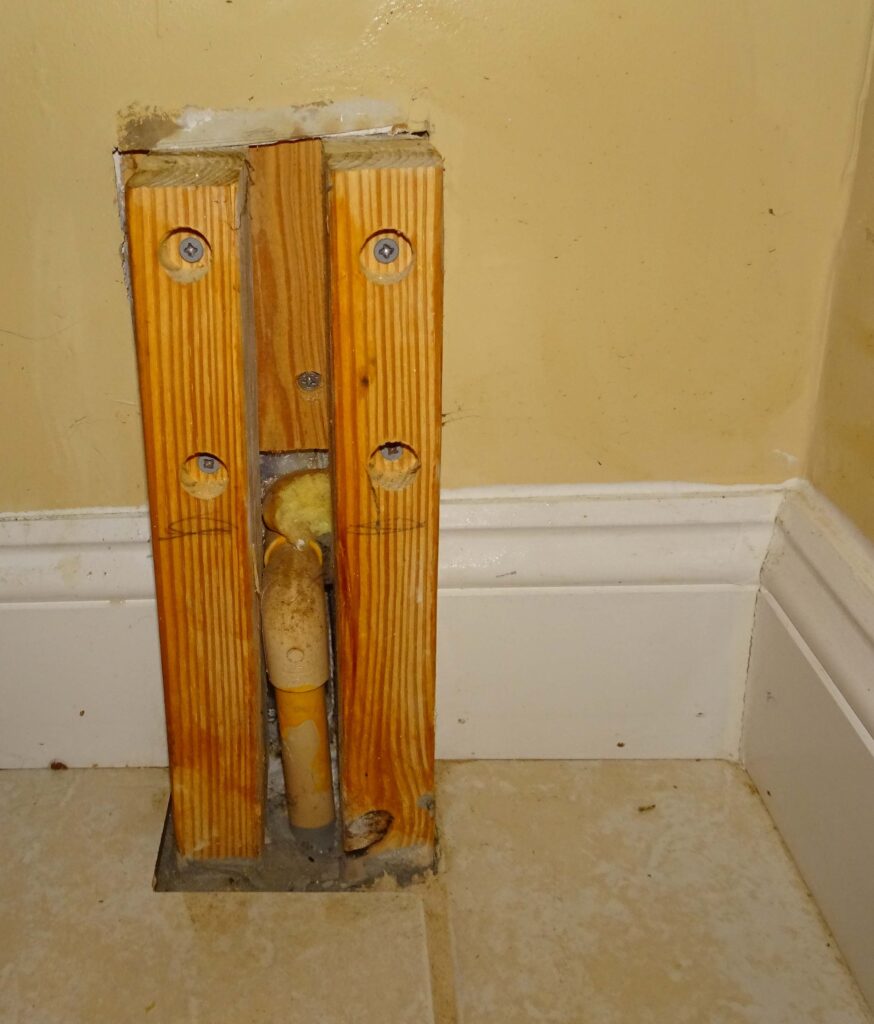
I chose to place all the water supply plumbing in the attic. All the room drains were embedded into the concrete slab floor. Therefore all the drain plumbing in the floor had to be in precise locations, especially the toilet drains. The floor drains also include a clean-out capped PVC pipe located at the opposite end of the main drain run to the septic tank. Below is a picture of misalignment of the house water supply pipe, that required this protection to get back into the wall insulation behind the sheet rock. My bad!
Fortunately this was located in a closet. This main water supply line goes up this wall into the attic for further distribution. That grey matter where the water pipe exits the slab is glue for securing the bottom of the protection wood. This is not concrete because concrete can never touch the PVC as required by code. Click here for How to plumb a house.
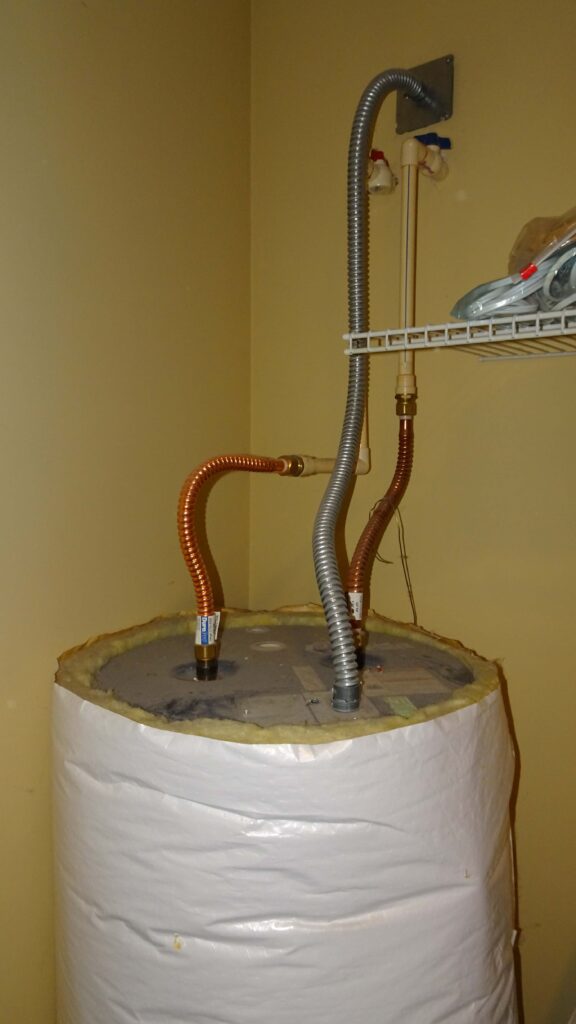
I used 1-1/4″ PVC pipe from the well to the house slab. The water supply pipe was reduced to 3/4″ PVC, and remained 3/4″ PVC until reaching each service location shut-off valve, where it was reduced to 1-/2″ PVC. The exception is the central water heater which used all 3/4″ plumbing fittings as shown below. Note how the power outlet box is always above the water supply. This is a code requirement.
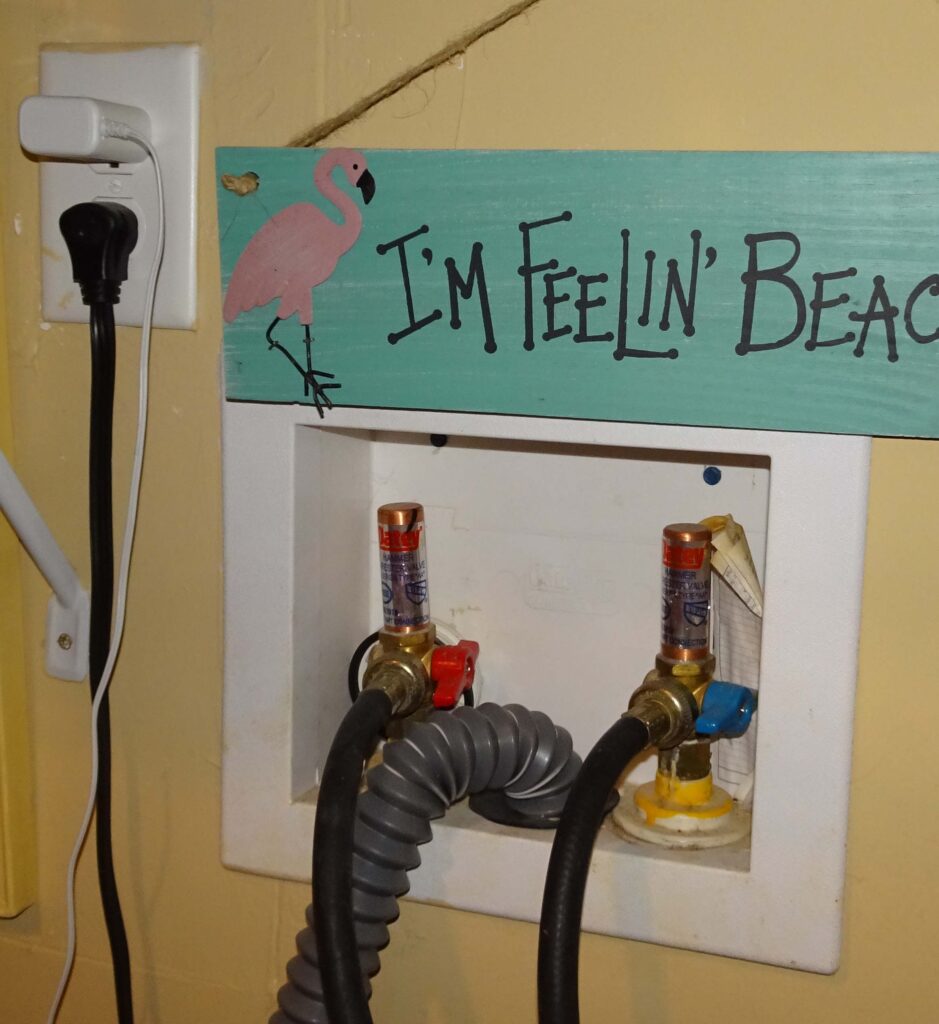
Below is another example where the clothes washer outlet is above the water supply.
Hot water distribution
I intended that my hot water heater plumbing would be in the attic, which would serve the following purposes:
- Allow 6-gal hot water tanks near the required hot water locations and these local hot water tanks would be sourced from a 40-gal central hot water heater.
- This would allow instant hot water as first drawn and the 40-gal hot water supply would allow for more than 6-gal of water that remains hot.
- Placing the plumbing in the attic would enable easy repair as the house ages.
But this plan went south because the building inspector during a plumbing inspection, demanded that the roof truss design must allow for the 6-gal water heater weight. He wanted a letter from the truss company agreeing to this added weight. Because I was one day away from 6-months with no passed inspection, I didn’t have time to do this, so I abandoned the local 6-gal water heaters and re-plumbed around them such that I could pass this inspection on the following day.
Just for clarification, I ran out of saved money for the house construction and I didn’t want a mortgage. So I slowed down the inspection rate such that my monthly income could pay for the building materials required. In Florida, 6-months is the limit for a passed inspection interval. After that time interval the building permit is considered abandoned. I normally kept an inspection available as an emergency inspection, but during this time I had no alternate emergency inspection.
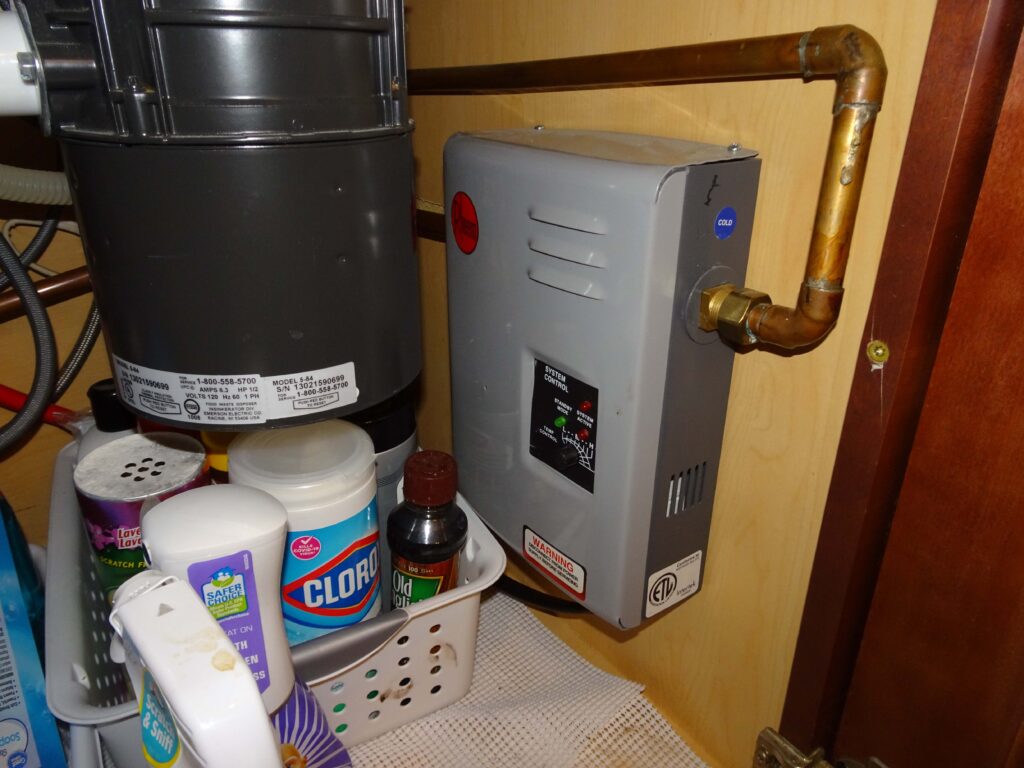
Kitchen sink on-demand water heater
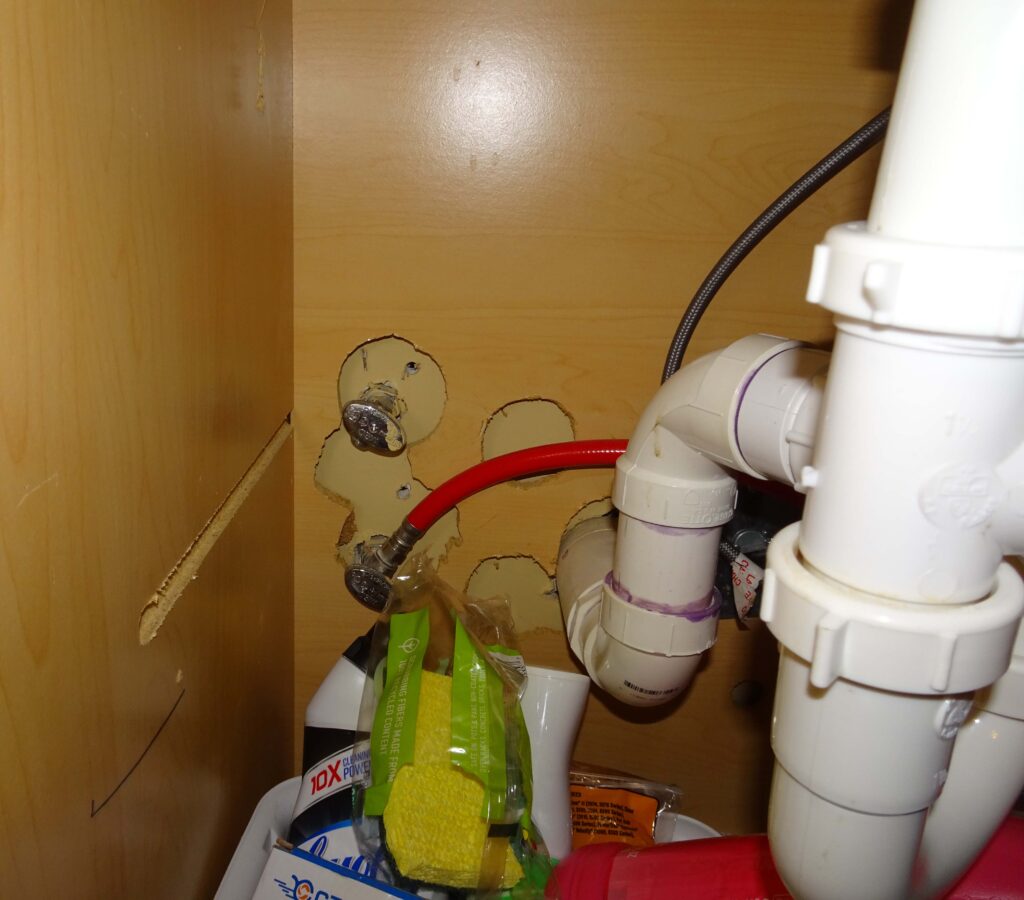
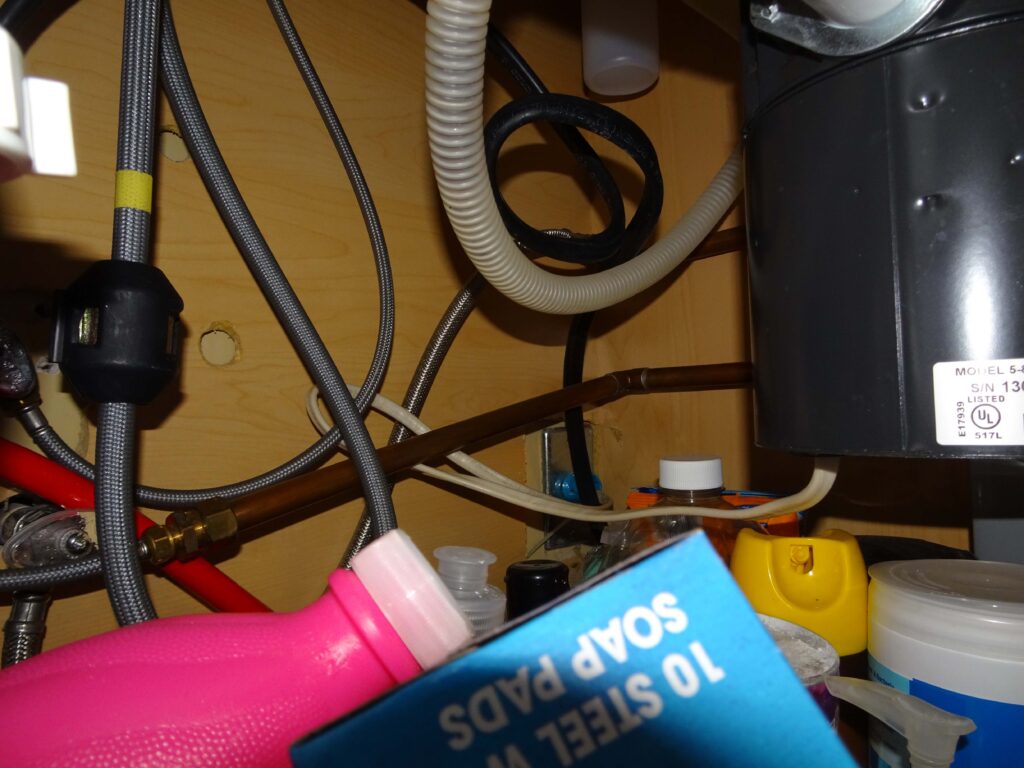
The kitchen sink is about forty feet from the central hot water heater, so I had to add an on-demand hot water heater under the sink after the house was finished. The left picture below shows that water heater. Notice you must use copper pipe for 24-inches before switching to CPVC or flex hose. The right picture shows how the original hot water supply (upper valve) is no longer in use.
The bottom picture shows the water heater copper to flex hose adaptation, the garbage disposal wiring, the dish washer wiring and the dish washer water supply valve. It also shows the sink sprayer weighted hose in all this mess.
Bathtub drain plumbing is a big deal
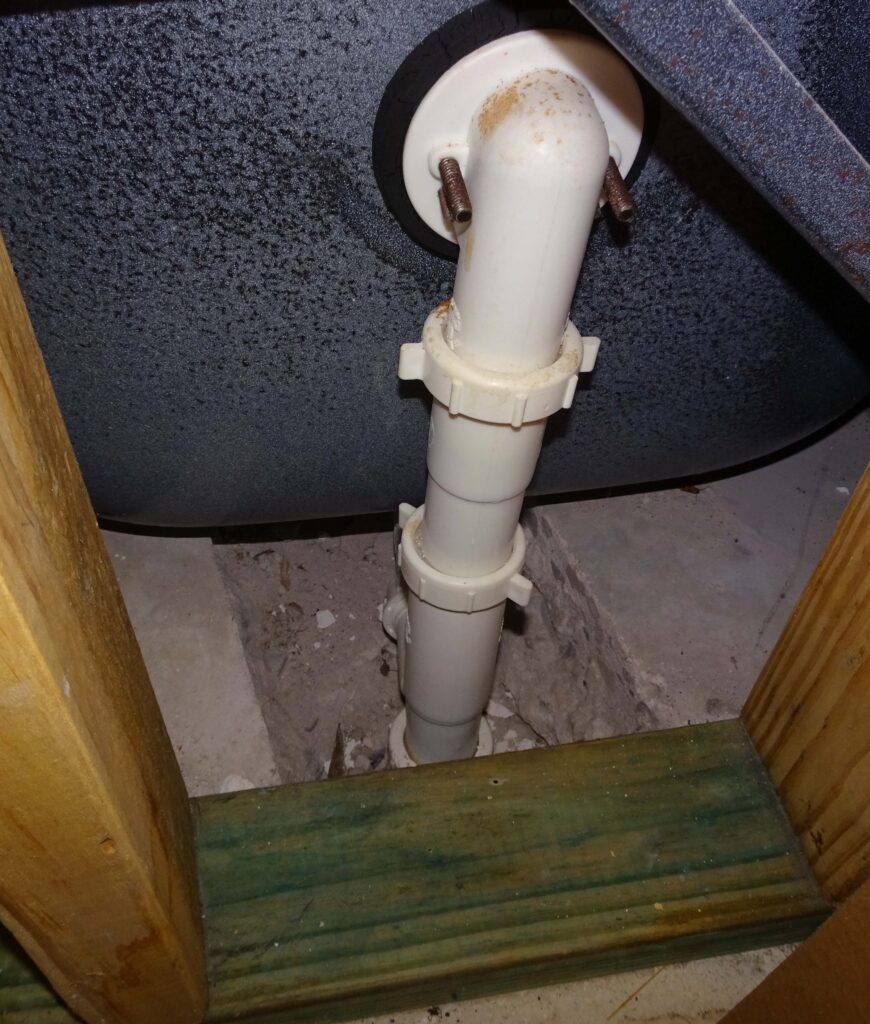
Below is a picture of one of my bathtub drains. I didn’t understand the bathtub drain requirements during the slab pour. I failed to install the proper drain box before pouring the slab. This required that I chisel out the relief required for the tub drain. In this picture the bottom section is a tee connector where the tub drain connects with the over-flow drain and they both go down into the slab. Don’t make this mistake. Check with you local plumbing supplier for additional details.
Toilet drains must be in exact location
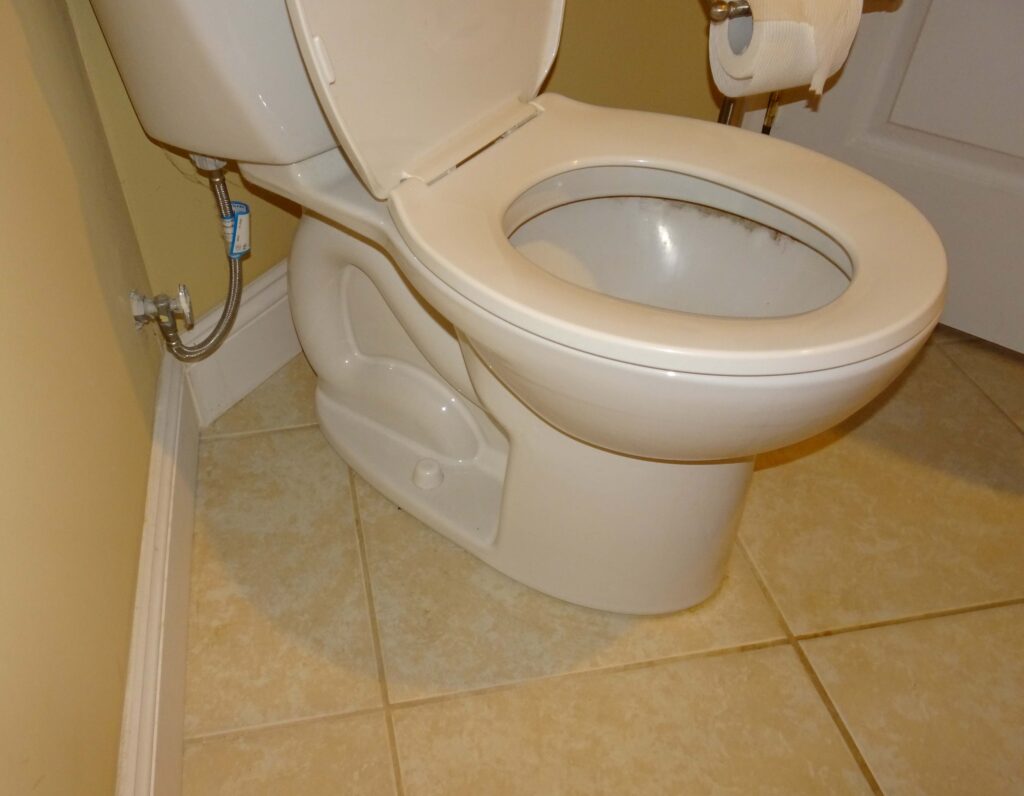
As mentioned earlier, the toilet drain location must be quite exact for best results. If you are unsure about this exact location, you can purchase an adapter which allows slight offset of the toilet drain. For a slab mounted toilet this will not work unless you installed a relief box around this drain before pouring the slab. Check with you local plumbing supplier for additional details.
Bathroom sink drain plumbing
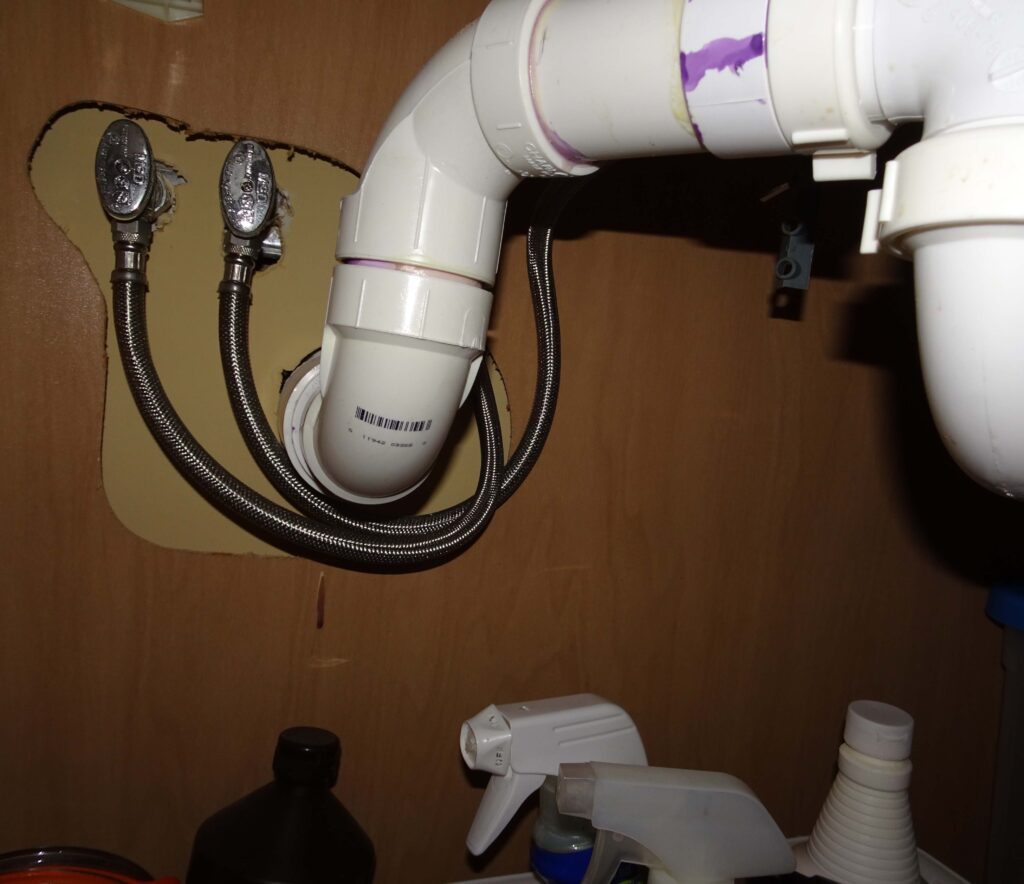
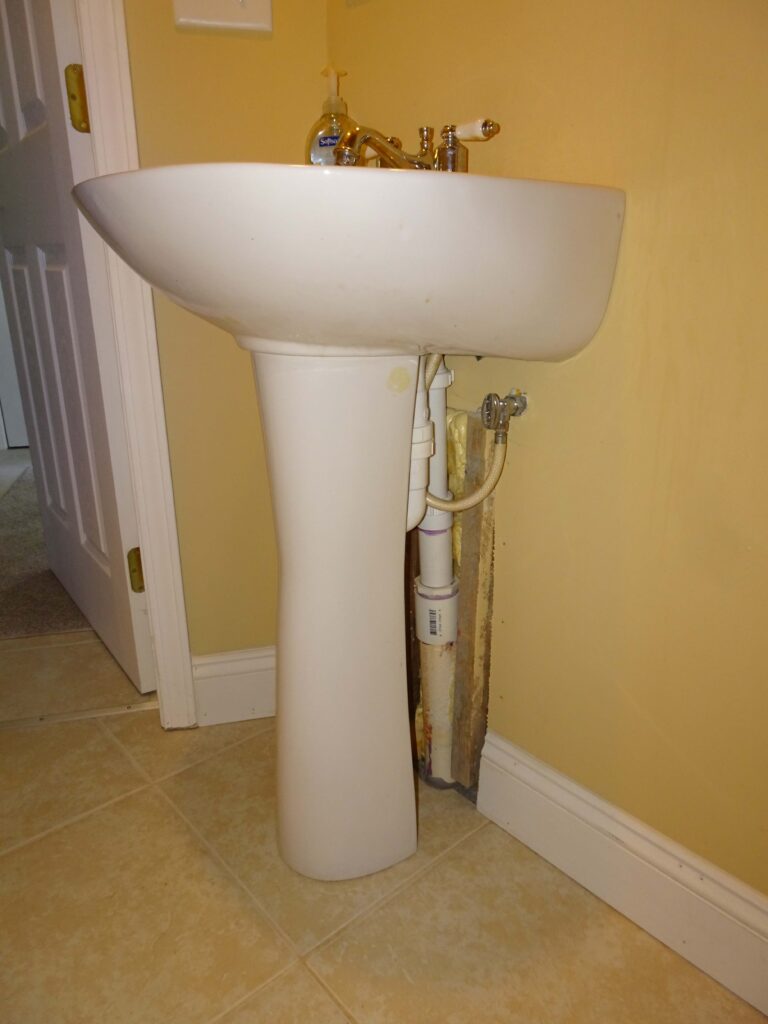
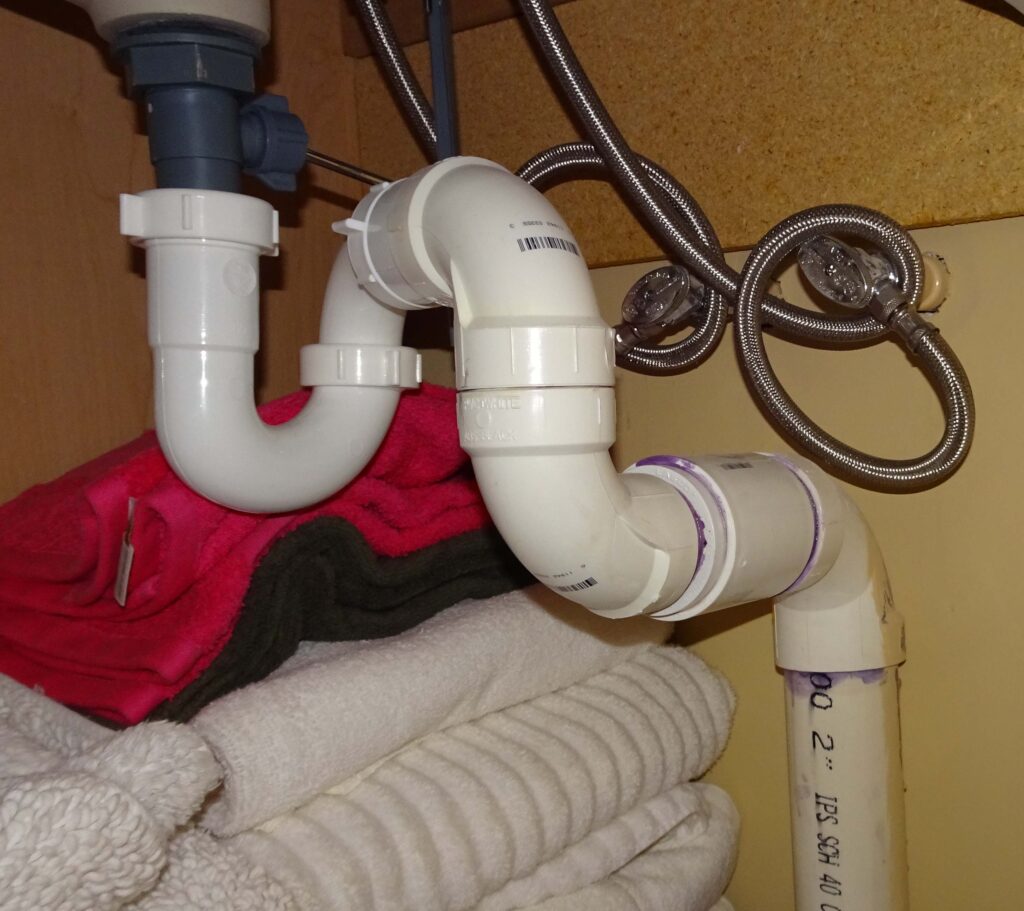
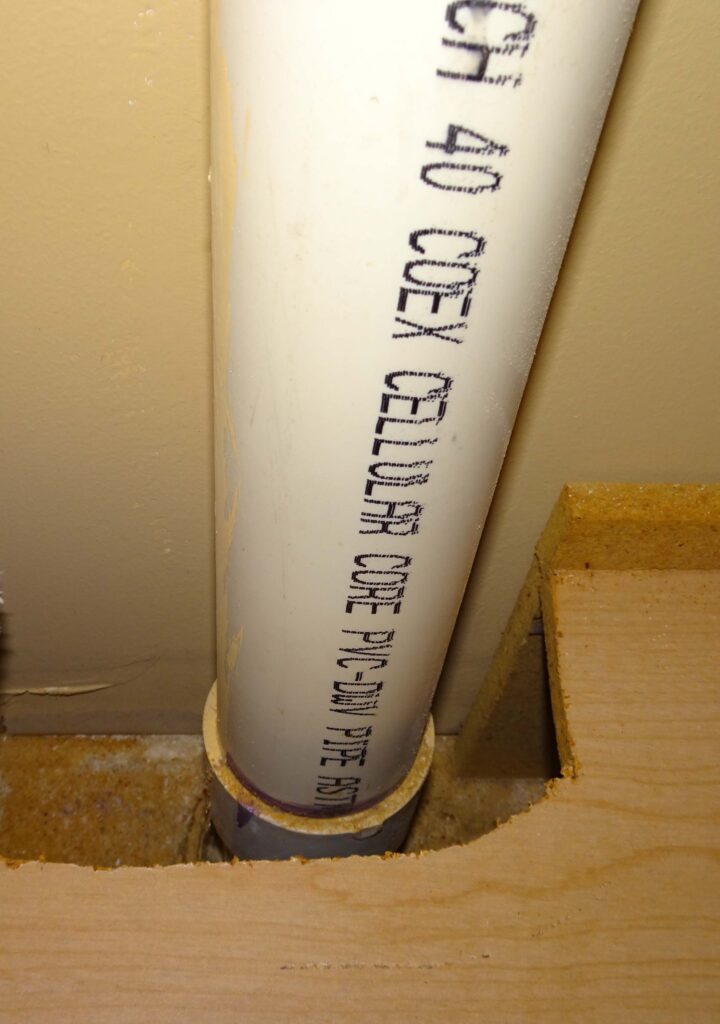
Bathroom sink drain locations are not critical as per location. The sink cabinet can hide small drain location mistakes. Below are two examples of typical sink drains. The left picture shows a proper sink drain that falls inside a wood wall and the right picture shows a sink drain embedded into the foam insulation of a block wall. The lower right picture shows how I cut the sink cabinet bottom shelf to allow access to the slightly offset drain in the slab.
The bottom left picture shows how I addressed a pedestal sink on an outside block wall. The pedestal plumbing cover is removed for this picture. Here in Florida I am not concerned with outside wall plumbing. In cold latitudes you may want insulation between the outside wall and the plumbing to prevent freezing of pipes in very cold climates. The block wall itself provides about R-5 insulation properties.
Mounting of water shut-off valves
The water shut-off valves require attachment to the block wall for physical security. This is how I attached the plumbing to the block wall. I later added the block wall insulation and sheet rock. This block wall has the attached garage on the other side, so pipe freezing is not an issue. You may want to place the supply line right at the metal plate and place insulation between the wall and the pipe for cold climates.
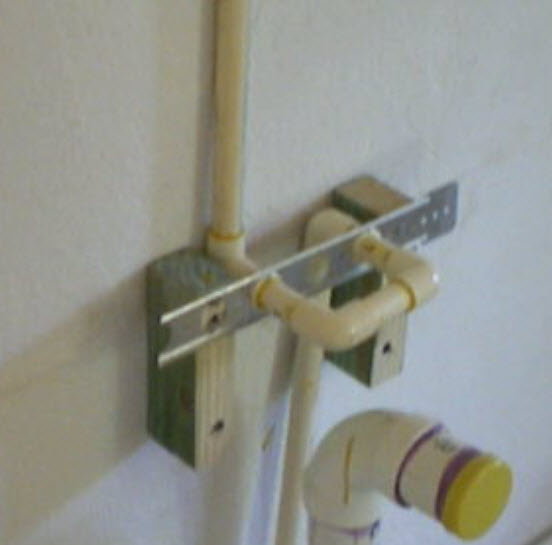
The hot and the cold pipes are tied together. This keeps out dirt and contaminates during the construction process. It also facilitates plumbing leak test requirements. The metal strips are readily available for mounting the PVC and CPVC.
